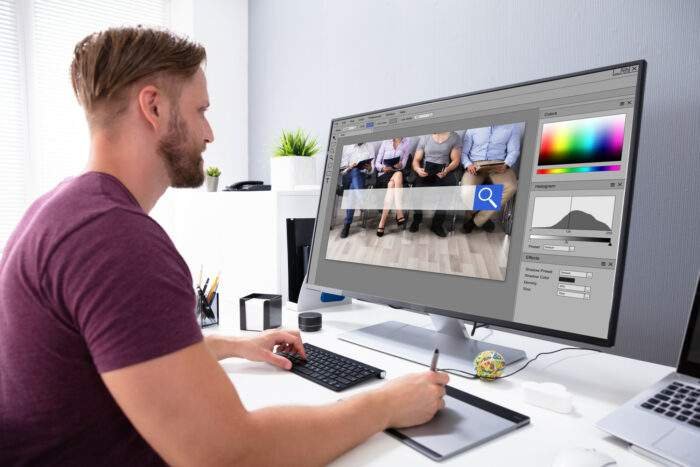
Top 4 Tips to Edit Business Website Images: Everything You Need to Know

Do you want to learn how to edit business website images?
Many people understand the importance of business website images, but they don’t know the details of how to optimize them. You might have just started your business’s website, and now you want to make it look good.
You need to upload pictures that best describe your business website. If not, your website could seem dull and dusty. We can help! Read on to learn how to edit business website images easily!
1. Use High-quality Image Editing Software
If you are serious about image editing, it is worth investing in paid image editing tools. Adobe Photoshop is one of the best image editing software on the market that you can choose.
With its easy-to-use tools like the background remover, you can quickly edit your photos to perfection. There are also endless tutorials online to help you get the most out of Adobe Photoshop.
Make sure you have a good idea of what you want the edited image to look like. You can either use stock images that are of high quality or take your own photos and edit them yourself. Either way, make sure the image is clear and sharp.
2. Crop and Resize Your Images Properly
Images are essential to every website as they add visual interest and help break up the text. However, using too large or small website image size can negatively impact your website’s performance.
You need to determine the pixel width of your website. This is the width of the website in pixels, and it can vary depending on the theme you’re using. Once you know the pixel width, you can start sizing your images.
It’s also necessary to ensure that your images are compressed. Large images can take a long time to load, which will frustrate visitors to your website.
3. Improve the Image by Adjusting Its Levels
To adjust an image’s brightness and contrast, you’ll need to open the curves tool and select the brightness and contrast layer. From here, you can adjust the sliders to increase or decrease the brightness and contrast of the image.
Be careful not to overdo it. This can make the image look unnatural. Once you are happy with the results, save the image and upload it to your website.
4. Save Your Images in the Correct File Format
JPEG is the most common file format for photos on the web. It is best for images that have a lot of color and detail. However, JPEG files can be large, which can make your website load slowly.
GIF is best for simple images, like logos or line drawings. They are also smaller in file size than JPEG files, which can help your website load faster. The downside is that they don’t support color depth, so your images may look washed out.
PNG is a newer file format that has the best of both JPEG and GIF. These files are small like, but they support color depth, so your images will look vibrant and clear.
Edit Business Website Images Like a Pro!
Now that you know how to edit business website images, it’s time to put these tips into practice! Experiment with various software and techniques to see what works best for your business.
With a little bit of know-how, you can create beautiful, high-quality images that will make your website shine. So get out there and start editing!
If you found this article helpful, please check out other great content on our site!


